How Professional PPF Installers Achieve Seamless Film Edges: A Flawless Installation Guide
March 13, 2026
Applying paint protection film might sound straightforward, but anyone who has tried knows it demands the precision of a skilled craftsman. The real challenge is not simply covering the panels; it is making the edges disappear so the film looks like part of the paintwork rather than something applied afterward. That seamless finish comes from skills and techniques that take years to master, because even minor mistakes along edges can cause the film to peel or bubble over time. This guide breaks down exactly how professional PPF installers achieve those flawless edges every time, transforming PPF from obvious plastic wrap into an invisible, enduring shield.
The Expertise Behind Every Installation
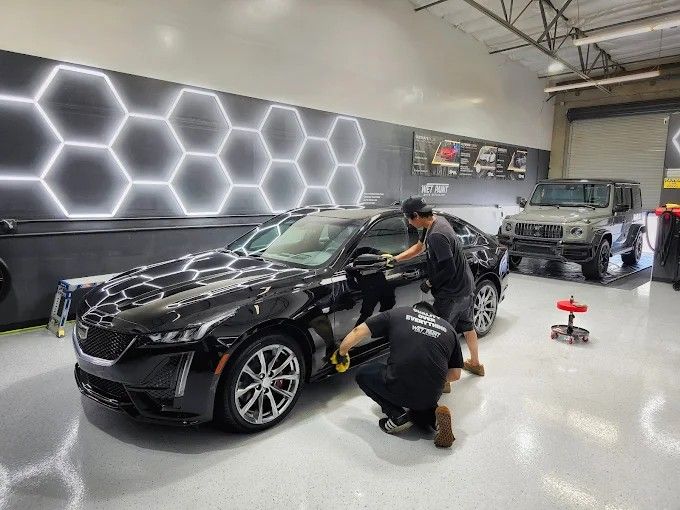
The mark of a professional paint protection film installer is the depth of experience built through hundreds of installations. This hands-on work develops an intuitive understanding of how different films behave under varying conditions, allowing installers to adjust their techniques with precision. They know when to apply heat gently, how much tension to place on the film over complex curves, and when to pause for the adhesive to settle. This sensitivity to materials is what prevents common issues like bubbling or lifting edges from developing during or after application.
Professional installers also develop a thorough understanding of vehicle-specific challenges. Each make and model presents unique contours and seams that demand tailored strategies. Tight hood curves require a different stretching technique than flat door panels. Experienced installers know to trim excess film beneath panels rather than at visible edges, avoiding unsightly creases and promoting longevity. They understand that patience, specifically allowing adhesives to tack properly before final trimming, is just as important as steady hands and sharp blades. Continual learning also plays a vital role. Paint protection film technology advances rapidly, with new films offering improved clarity, adhesion, and self-healing properties emerging regularly. Professional installers stay current by attending workshops, certification courses, and industry events, refining their skills through peer collaboration and ongoing training.
Essential Tools for a Flawless Finish
The quality and specificity of tools fundamentally shape the outcome of any PPF application. Precision cutting knives are crafted to glide smoothly along body lines, enabling installers to create sharp, clean edges that blend invisibly with the vehicle's surface. Without them, achieving accurate cuts along complex automotive curves becomes extremely difficult.
Specialized squeegees designed for PPF work are equally important. Unlike ordinary squeegees, these tools have flexible edges with varying hardness levels to maneuver gently over the film without scratching or overstretching it. They smooth out trapped air and excess slip solution, preventing the small bubbles that can compromise both appearance and protection quality.
Heat guns are another essential part of the process. Controlled heat softens the film so it conforms smoothly around tight curves and complex shapes. Too little heat results in poor fitment, while too much risks damaging the film or the paint beneath it. Experienced installers know precisely how much warmth each situation requires.
Slip solution, a specially formulated liquid, allows installers to reposition the film multiple times before the adhesive sets. This flexibility is critical for achieving precise alignment, particularly on complex panels. Lint-free cloths round out the toolkit, used to wipe down every inch of the paintwork before application. Even microscopic contaminants can cause adhesion failure, so thorough cleaning at this stage is non-negotiable.
Surface Preparation: The Foundation of a Great Install
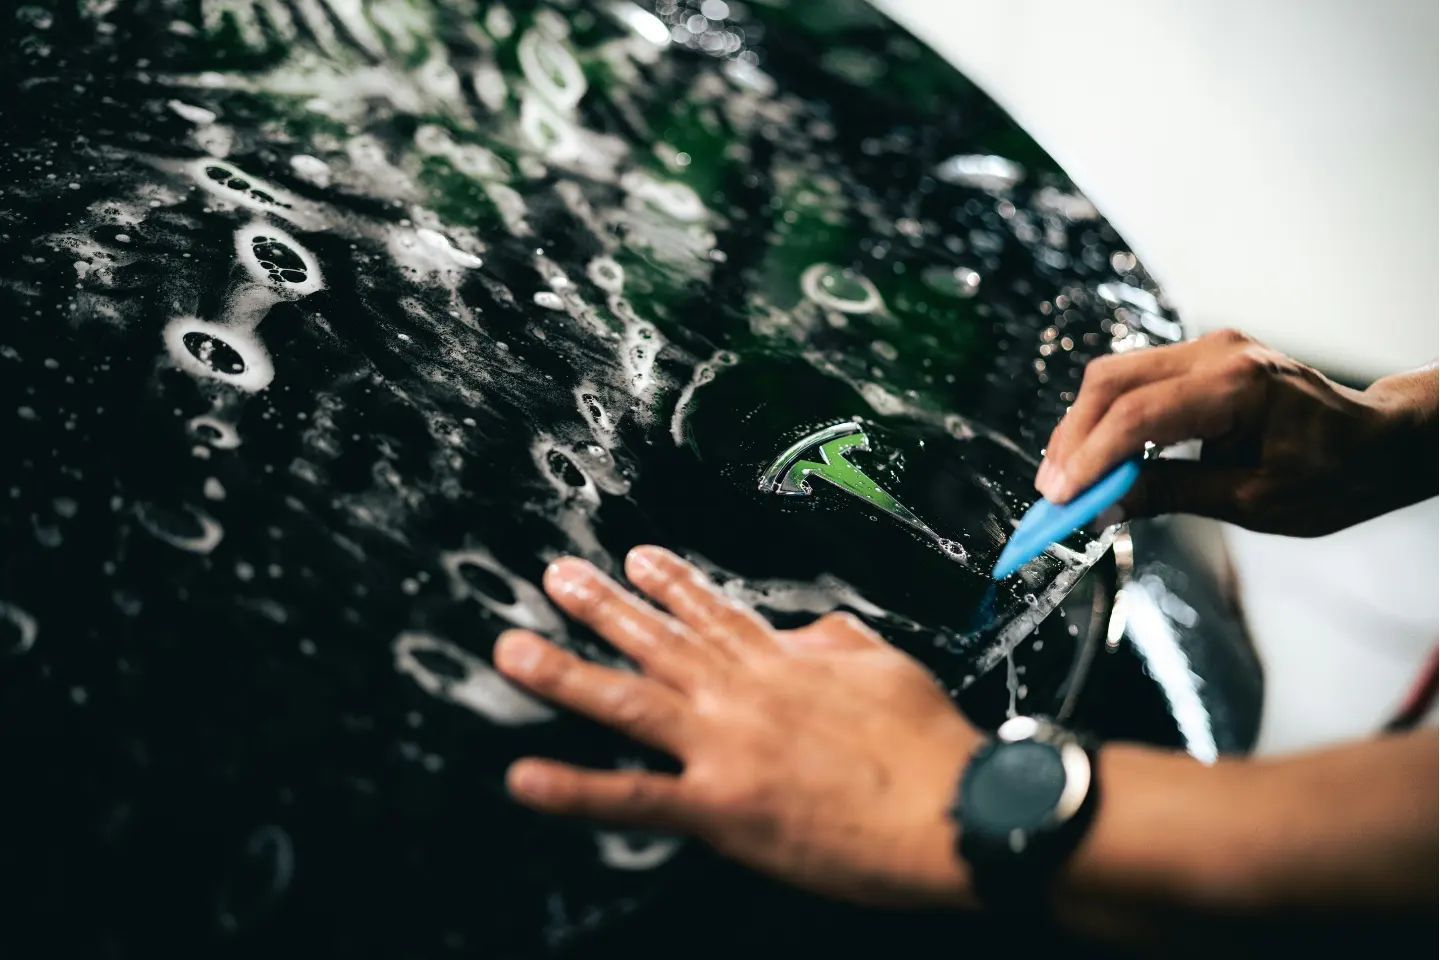
Proper surface preparation is not a routine step; it is the foundation of a long-lasting finish. The goal is to create a perfectly clean and contaminant-free surface so the film adheres evenly without bubbles, wrinkles, or weak spots. Installers begin with alcohol-based cleaners to break down oils, grease, and residues left behind by wax or polishing compounds. This initial wipe removes not just visible dirt but also microscopic films that could compromise adhesion later.
Following this, a clay bar treatment gently lifts embedded particles such as brake dust, tree sap, and environmental fallout that no standard wash can remove. This process smooths the surface at a micro level, creating the ultra-clean canvas essential for a glass-like finish once the film is applied. After decontamination, a final wipe with lint-free cloths ensures nothing new has settled on the surface. Installers typically perform this step under controlled lighting to catch even the smallest particles.
A thorough inspection using magnification tools follows, checking for scratches, chips, or blemishes that might be amplified under the film. Minor defects are corrected before installation begins, ensuring the base paintwork is in ideal condition. Surface temperature also plays a role, ideally kept between 60 and 80 degrees Fahrenheit to optimize adhesive flow and prevent premature drying of the slip solution.
Techniques That Make Edges Disappear
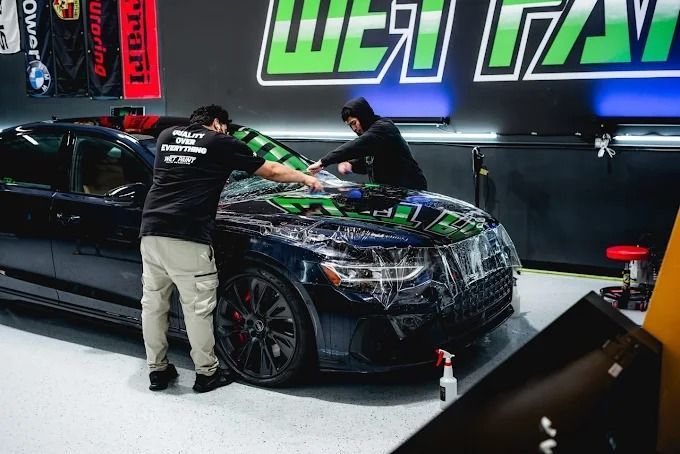
Achieving seamless film edges is about mastering a series of precise, deliberate actions. One of the most important is edge wrapping. Rather than cutting the film flush at the edge, where it risks peeling or leaving a visible line, installers fold and tuck the film deep into crevices such as bumper edges or door seams. This creates a continuous, unbroken surface that closely mimics the original factory finish. The wet installation method works alongside this technique. By applying slip solution to both the adhesive side of the film and the vehicle surface, installers gain time to position the film correctly before it bonds. This fluid cushion significantly reduces air bubbles and misalignment, allowing the edges to settle precisely into place.
Micro-edge trimming is another key technique, where the film is cut slightly inside the panel boundary by just a few millimeters. This subtle margin prevents edges from lifting due to environmental exposure or frequent contact while remaining effectively invisible to the eye. Any cut must be clean and consistent, as ragged edges compromise both durability and appearance. Edge sealing completes the process. Heat is applied along the perimeter to activate the adhesive bond firmly around all edges. Some installers apply an additional protective edge sealer that guards against moisture, contaminants, and wear that could otherwise cause peeling over time.

Cutting, Corners, and the Details That Matter
Precision cutting starts with the right blade. Ultra-sharp ceramic blades maintain their edge longer than standard steel, ensuring clean cuts without fraying that could later lead to peeling. Cutting at an angle of approximately 30 to 45 degrees optimizes contact with the surface, creating exact lines that blend almost invisibly with panel edges. Film tension during cutting is equally important. A slight stretch of around 10 to 15 percent while trimming prevents wrinkles and bubbles without distorting the adhesive bond. Skilled installers develop a tactile feel for this balance through experience.
Corners present a particular challenge. Applying controlled heat softens the film just enough for it to mold around tight bends without shrinking or warping. Pressing the warmed film carefully into place with a squeegee prevents the small puckers that form when material bunches at edges. For more complex corners, a double-cut method reduces overlapping film significantly, minimizing thickness buildup and visible seams for smooth transitions that are nearly undetectable up close.
Why Professional Installation Is Worth It
Choosing a professional installer delivers benefits that extend well beyond the day of application. Expert installations can last up to a decade when properly maintained, the result of careful surface preparation, precise cutting, and controlled heat stretching that bonds the film firmly to every surface. Reputable shops typically back their work with warranties protecting against peeling, bubbling, and discoloration, providing lasting peace of mind.
The impact on a vehicle's resale value is also meaningful. A flawless installation preserves the paint in showroom condition, signaling attentive ownership to prospective buyers. Vehicles with professionally installed protection film consistently command higher resale prices, a benefit that offsets the upfront cost of professional service. Efficiency is another advantage. Experienced installers complete full installations in a fraction of the time it takes an inexperienced person, and their controlled shop environment minimizes dust contamination while providing lighting conditions ideal for catching imperfections immediately. Professional paint protection film installation is ultimately an investment in sustained quality. It transforms the film from a simple add-on into a long-term asset that preserves both the appearance and value of your vehicle for years to come.
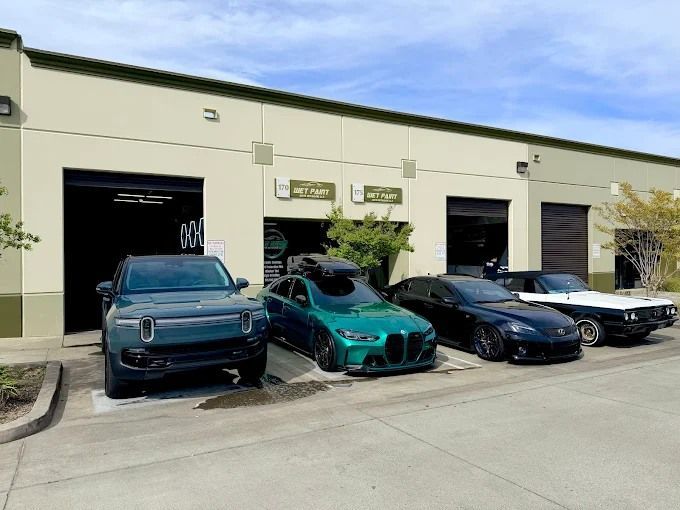
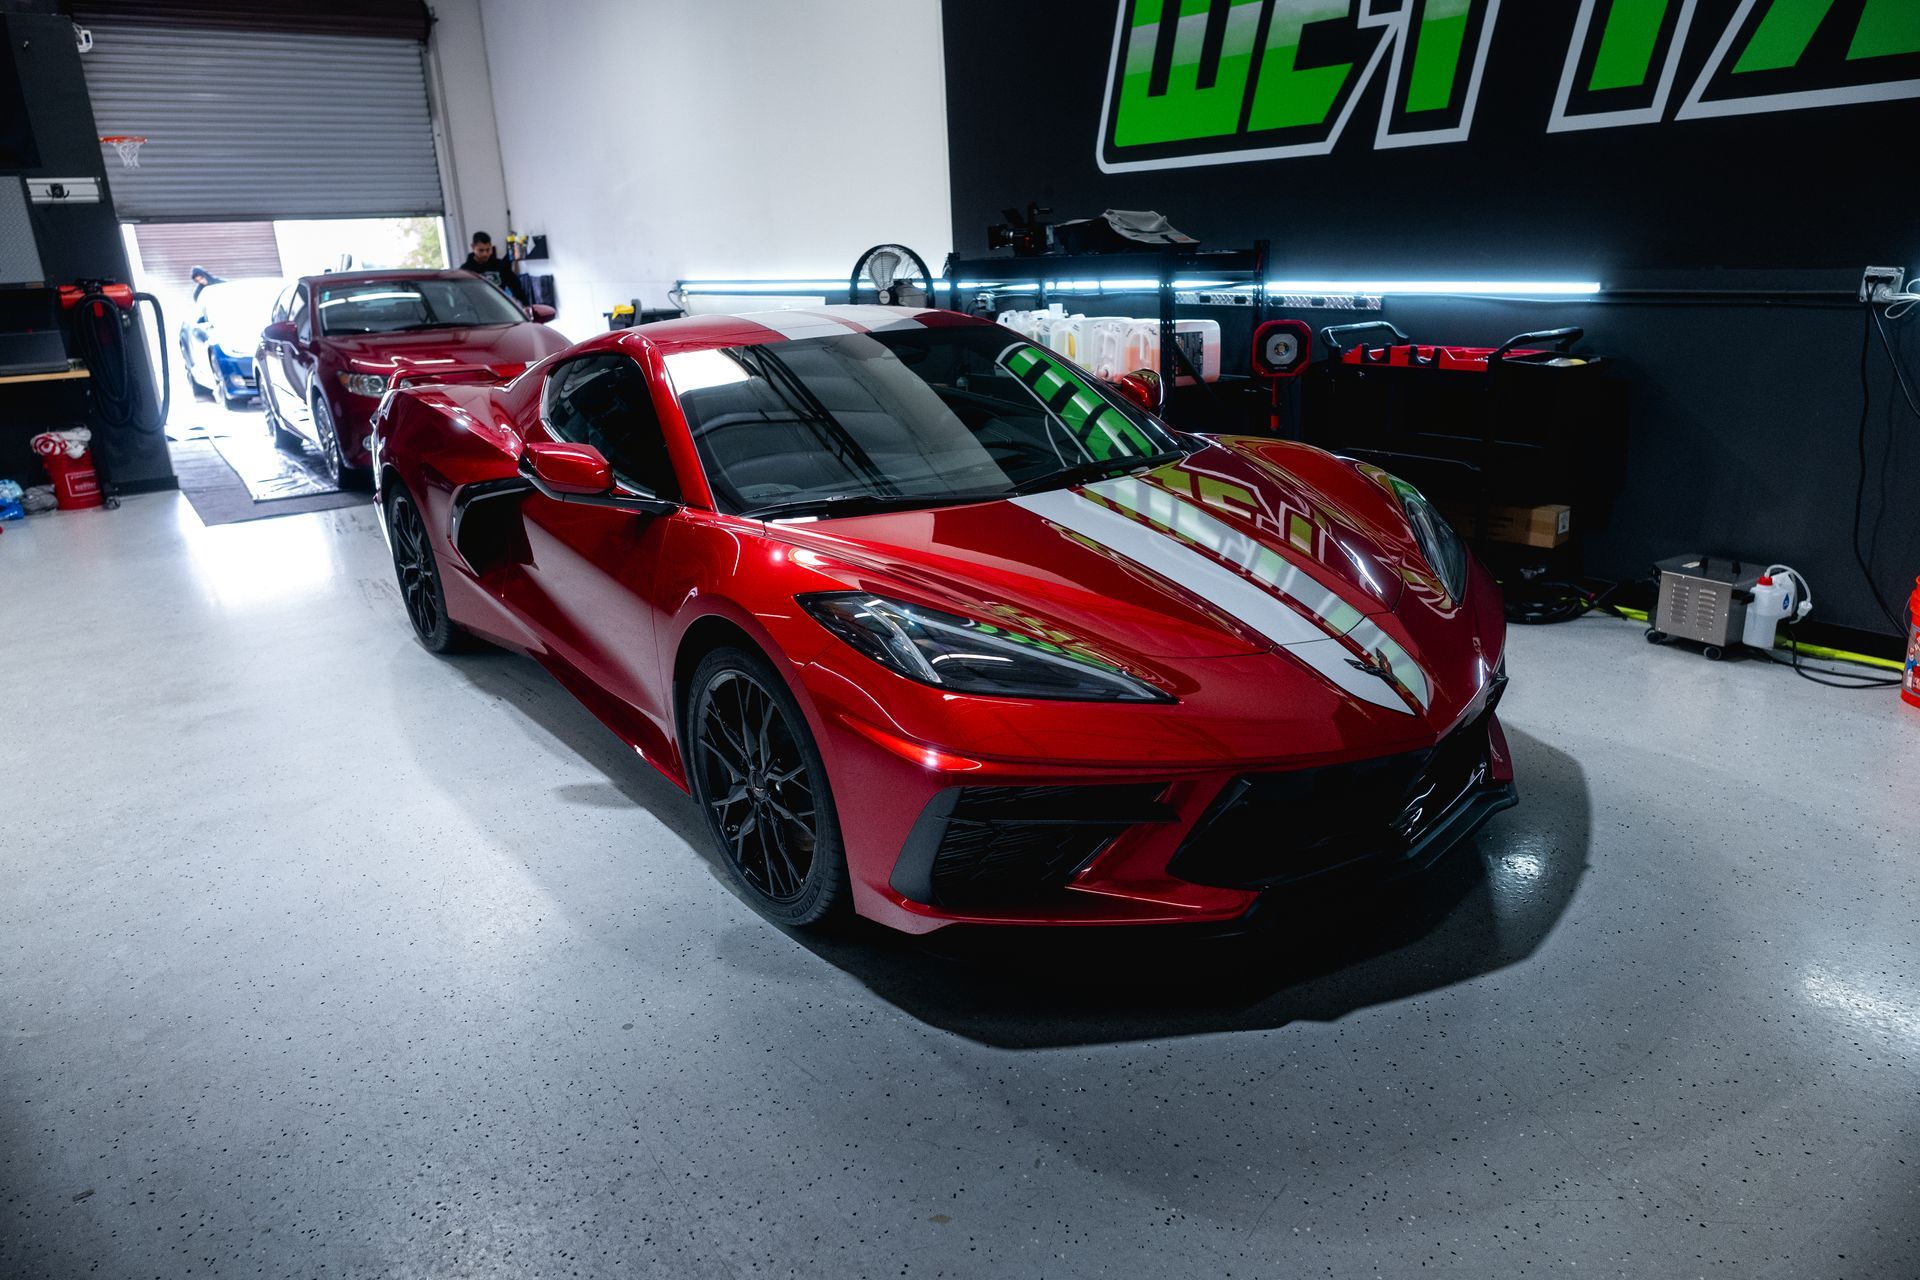
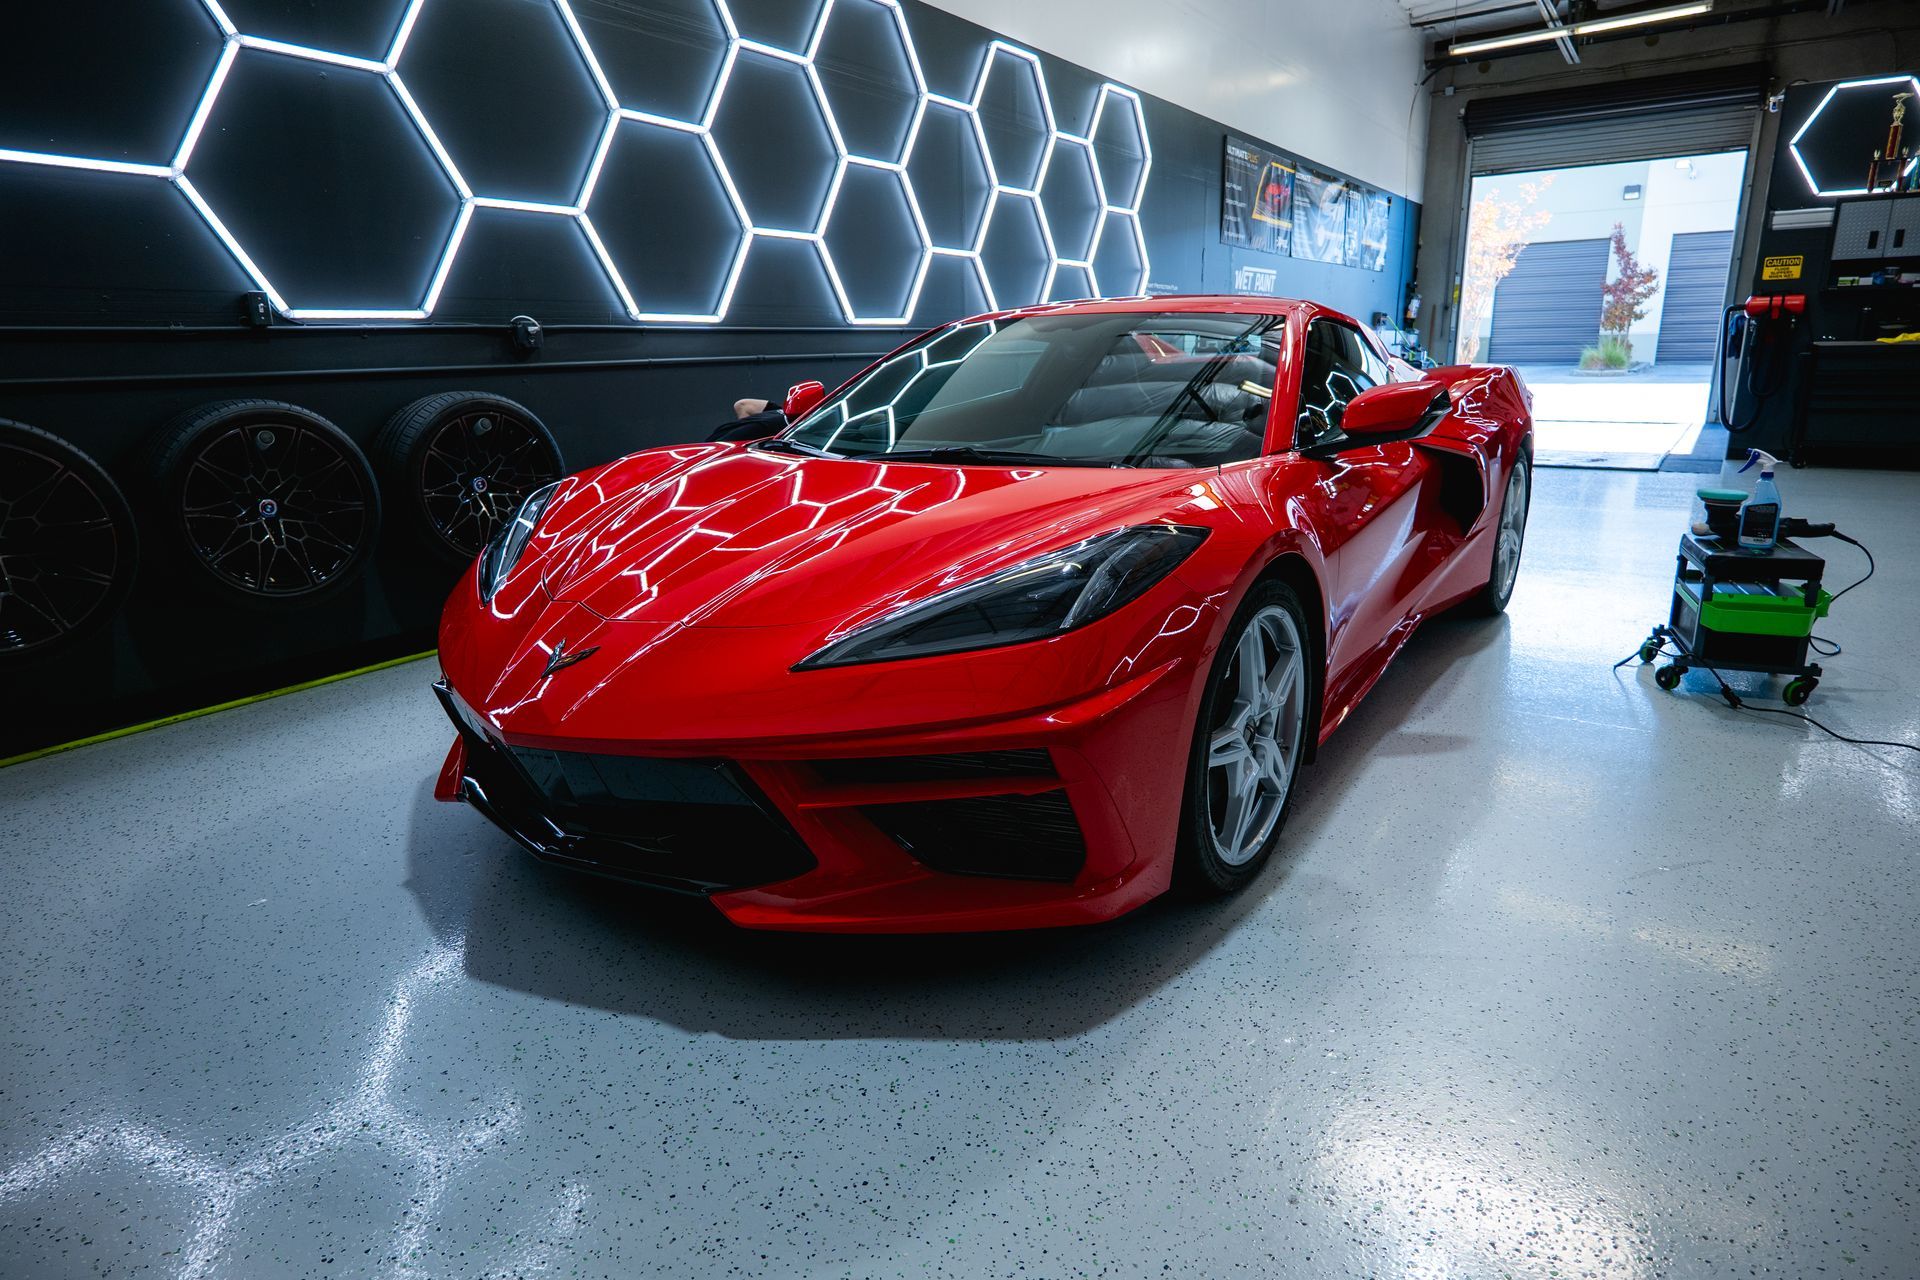
Seamless PPF Installation in Rocklin, CA
With a focus on consistency and craftsmanship, we tailor each installation to the unique contours of your vehicle, ensuring tight edges and uniform coverage across every panel. Our controlled environment and professional-grade tools help reduce installation variables, allowing the film to settle properly and perform as intended over time.
Schedule your appointment today to experience seamless paint protection film installation done right!